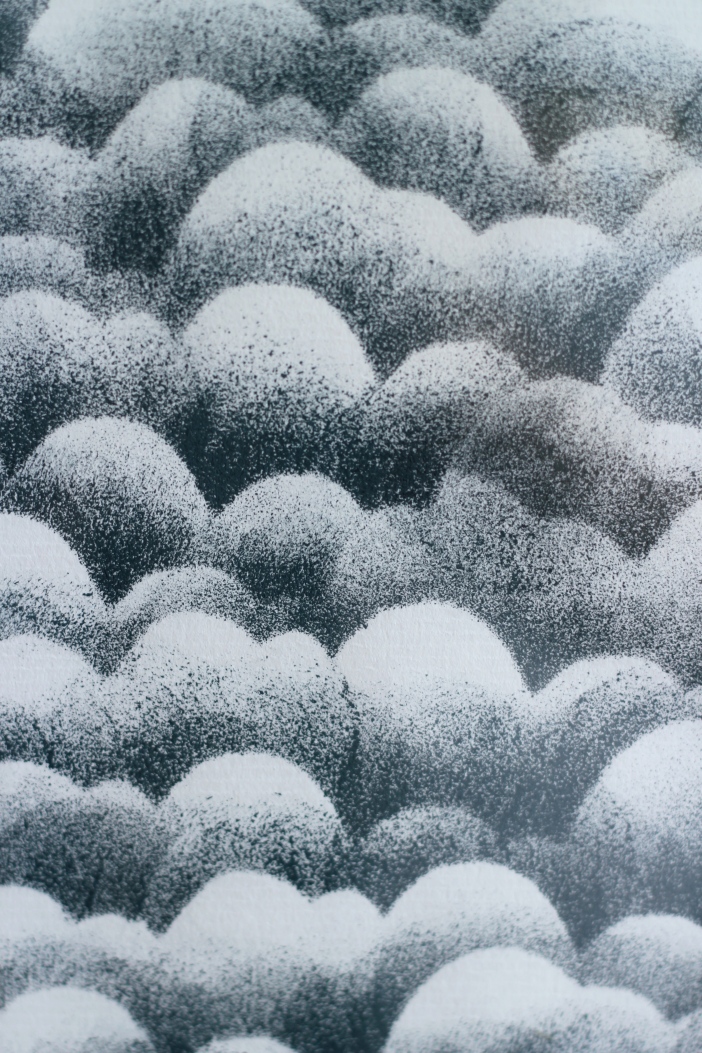
Lots of clouds on this blog lately! I guess it kinda reflects the current weather here in Malmö. Or, more accurately, the general weather here in Malmö. Anyway, I did this print last summer but only recently took the time to put it in a proper frame. I used a really simple technique inspired by a picture which I pinned from here (the original source seems to be lost). Here’s what you need:
- some good quality white paper
- some thin but stable cardboard (for the stencil)
- scissors
- watercolours (I used these)
- some kind of painting sponge (I used this)
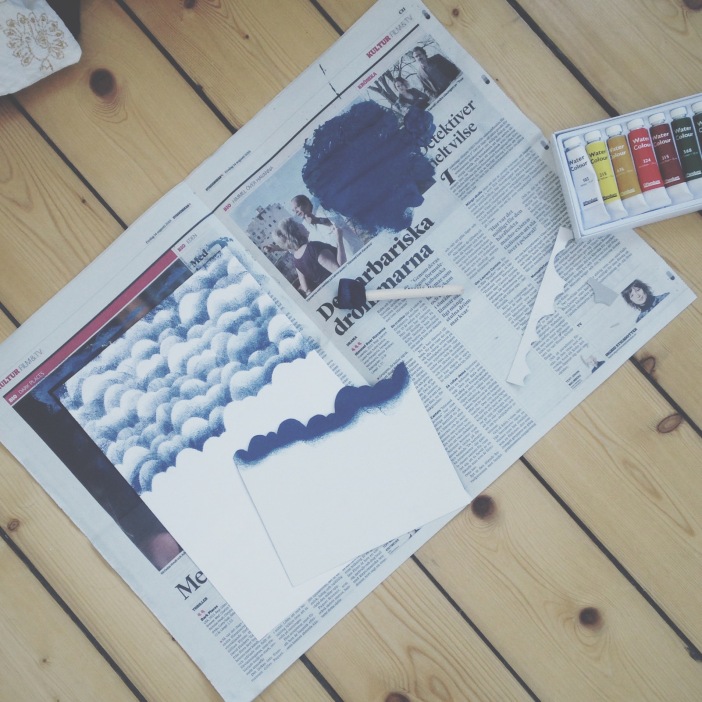
Here’s how you do it:
- Cut one of the edges of your cardboard so that it becomes uneven and kind of cloudlike.
- Blend your watercolours until you find the shade you want. I used black, white and dark blue and aimed for a dark, greyish blue.
- Start at the top of the paper. On the first round, place the stencil a little bit outside (above) the edge of the paper (as if the pattern would continue upwards) and start stamping along the upper edge of the stencil. The stencil will create a sharp lower edge underneath which the paper will stay white. Try to stamp lightly to make the upper edge as smooth and soft as possible. Make sure to cover the whole width of the paper along the stencil with paint, but don’t even it out too much – it looks better if the thickness of the paint varies a bit sideways.
- Work your way down successively, moving the stencil down but also a bit side to side, to that the same bumps won’t occur in the same place vertically.
- When you reach the bottom, finish off by putting the stencil a bit outside the lower edge of the paper (just as you did at the top) to make it look like the pattern continues.
- Let dry. Done!
Haha sorry for the messy description. The technique is probably clearer from the picture above.
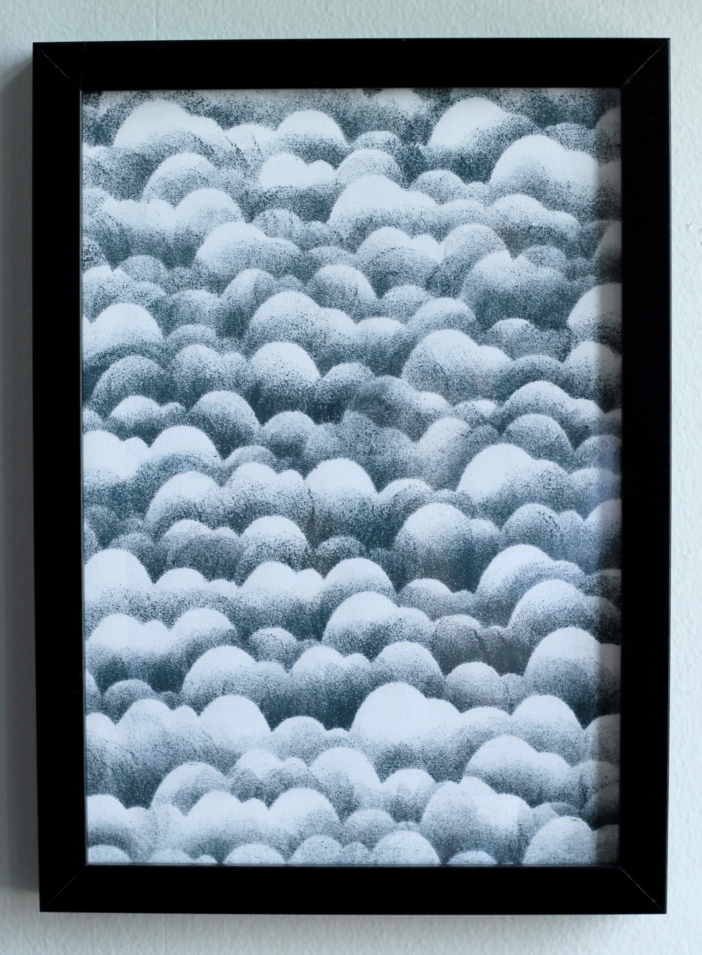
The print now lives in a black frame on our art wall. 🙂

Så fin!!! Har inte sett den tror jag?! Vill också göra en sån!!
LikeLike
Gör!!! Det var skitlätt. Du kan låna mina färger och svampar 🙂
LikeLike
Men himmel VAD FINT! ^^ Jag måste testa att göra något liknande ❤
LikeLike
Men åh tusen tack! Gör det, det var rätt lätt som sagt! 🙂
LikeLike
Men ååh, så jäkla snyggt! Wow! (psst, lovar att inte sno idén 😛 )
LikeLike
Tack!! Haha nä men sluuuta 😛 Jag inspireras ju av dina DIY’s dagligen, bara glad att mina små filtremsor kunde inspirera tillbaka 🙂
LikeLike